How to Install Linux on PC: Step-by-Step Guide

All Linux universe enthusiasts, at least once have wondered how they could install it.
The truth is that the search for "how to install Linux on your computer" never stops growing, precisely because it is a very interesting and user-friendly system to use in your daily life.
Despite this, there aren't many tutorials available on the internet that teach diverse ways to install Linux on your computer. Most content applies only one method, considered the "standard".
But, the truth is that besides it, there is another totally effective alternative to install Linux, as you will see throughout this article.
With that in mind, the Linux Certification team developed this complete content, with everything you need to know about the topic. Check it out!
How to install Linux from a USB drive?
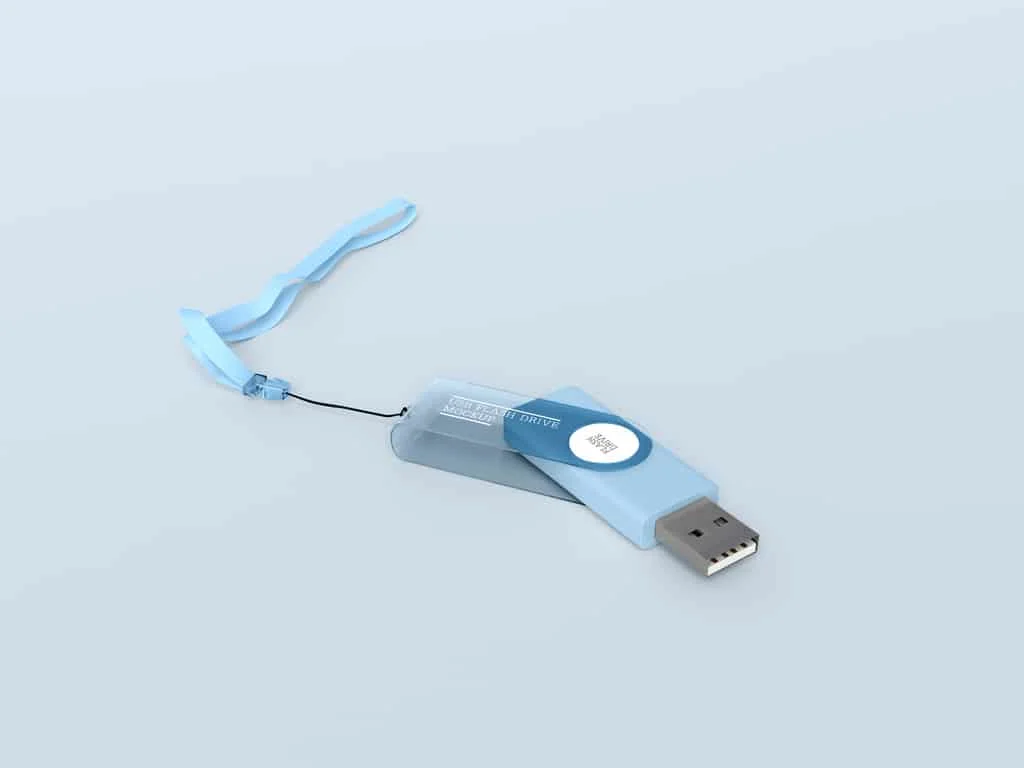
The simplest way to install Linux is to use a "transport medium" and storage such as a USB drive.
In the past, it was very common to see the use of CDs or DVDs to allocate an operating system that would later be installed on another machine.
Today, however, most computers and notebooks no longer have a CD and DVD drive, which made the process unfeasible, replacing it with USB drives and even external HDs.
Before starting the procedure, note that you need to download the Linux operating system files from the internet, in ISO format or ".iso" to your USB drive.
Thus, check beforehand if the website you chose to download from is trustworthy and if you can identify the format in which the files were downloaded to your computer — give preference to the "universal USB installer" type, so that the USB drive becomes bootable.
Also, if you are installing Linux on a computer that was already running another operating system, such as Windows, it is important to back up all the main information and files that exist on it.
Photos, documents, personal and professional files, passwords... everything must be properly saved before the computer is reset and the Linux system is installed.
It might be simpler, instead of choosing another USB drive or external HD for uploading the files, to save them in the cloud, in strategic systems that can be easily accessed later.
The step-by-step guide to install Linux from a USB drive is also very user-friendly, as you will see in the tutorial below.
1. Boot the computer from the USB drive
After completing all the previous steps, just boot your computer from the USB drive. To do this, simply restart the computer with the USB drive plugged into the USB port and hold the "Enter" key for a while, until the "boot from USB" option appears.
Right after, select the "F12" option on your keyboard, so that the GNU GRUB screen, responsible for managing all Linux installations, appears and enables the next steps.
2. Select the drive for installation
After choosing the USB drive as the installation drive, you need to define how the system will be installed: whether with a web browser, file packages similar to "Office" from Windows, and other extra features.
In the case of Ubuntu installation, for example, a very famous Linux distribution, there is the possibility of installing the full package or just the "basic" one, with a browser and simple utilities needed for everyday use.
In this scenario, it's up to you to decide which package to choose, according to your goals with Linux. However, the recommendation is that you already worry about installing the full package to make work easier and save time with installation in the future.
Once done, you need to choose what will be the type of installation for your operating system: replace the existing system, or just keep it running in parallel with another.
Note that, if you choose the second option, every time the computer is booted you will need to choose your preferred operating system, whether Linux or Windows, for example.
3. Starting the installation
In the installation boot stage, your screen will show a data confirmation panel for that computer's user, such as:
- username;
- device identification (it can be either the ID or the name given to the computer, such as "user-desktop", for example);
- and password, which can be marked as required at each device boot, in order to maintain the security of the information inside the computer and make it difficult for strangers to invade, who want to steal or change your data.
Your sign that the installation was successful will be the message requesting to restart the computer, in order to boot it already with the Linux system installed on the computer.
How to install Linux using a virtual machine (VMware)?
Another very used procedure in the universe of how to install Linux on your computer, is to count on the help of a virtual machine, or "virtual machine", in English.
Virtual machines are great allies of beginners who still don't feel 100% comfortable migrating permanently to the Linux system, and want to test it first, or use it occasionally.
They are nothing more than software that allows the installation of operating systems such as Linux, without it replacing the already installed OS. This allows the use of both OSs in parallel, without taking up more space on the computer's hard drive.
To work properly, however, some prerequisites are necessary before installation, such as:
- having a great internet connection;
- having at least 4 GB of RAM available;
- having a total of 12 GB of free space on your device.
1. Download and install VirtualBox
The most common virtual machine software is VirtualBox VMWARE which, first and foremost, needs to be installed to be used as a virtual simulator.
Access the VirtualBox official website and download the version according to your device. It's common to download the "Windows host", which has the 32 and 64 bit option. It's up to you to choose which model of your computer and download the corresponding one.
Once done, a dialog box with the software installation steps will open — just follow the indicated steps and finish the installation.
2. Download Ubuntu
Believe it or not, downloading Ubuntu needs to be done the same way as the pendrive option: in your browser, you need to search for "Ubuntu" and download all the distribution files.
Make the download through the Ubuntu official website, to avoid risks and not put your system security at stake.
3. Create a machine in VirtualBox
Going back to VirtualBox, you will need to create a new virtual machine:
- click on "new" or "nova", depending on the software language;
- name your virtual machine, with the type of operating system that will be installed (ubuntu);
- in the type, select "linux";
- and choose the downloaded version, if 32 or 64 bit;
- click next and select the memory size for the Ubuntu installation (the recommended is 2048 MB, equivalent to 2 GB);
- create a dynamically allocated virtual hard drive;
- choose at least 8 GB for the virtual hard drive;
Done, your virtual machine will be created and ready to receive the Ubuntu distribution.
4. Install Ubuntu
To install Linux on your computer, through Ubuntu, just click "start" or start the virtual machine. A dialog box will open requesting the installation of an operating system.
Just select the downloaded one, open it and start it. From there, just follow the common installation steps and configure your location, language and user information. Done, your Ubuntu will be available for use!
Conclusion
Did you see how installing Linux on your computer is not a big deal? Just follow the step-by-step shown with attention to details, so you don't download files incompatible with your computer requirements.
If you liked this content about Linux, you need to check out our professional Linux training courses, such as the Docker course and read about docker commands (learn what docker is), RHCSA and Pfsense. They are totally structured thinking about your learning and benefit, worth checking out!

Prof. Uirá Ribeiro
Chair do Board do Linux Professional Institute
After years of watching professionals waste hours on simple tasks because they didn't know the right Linux tools, I decided to teach.
Today I'm the author of most of LPI's official Learning Materials and mentor to over 14,000 certified students.
That was just one piece. The course teaches the whole path — from your first command to exam day.